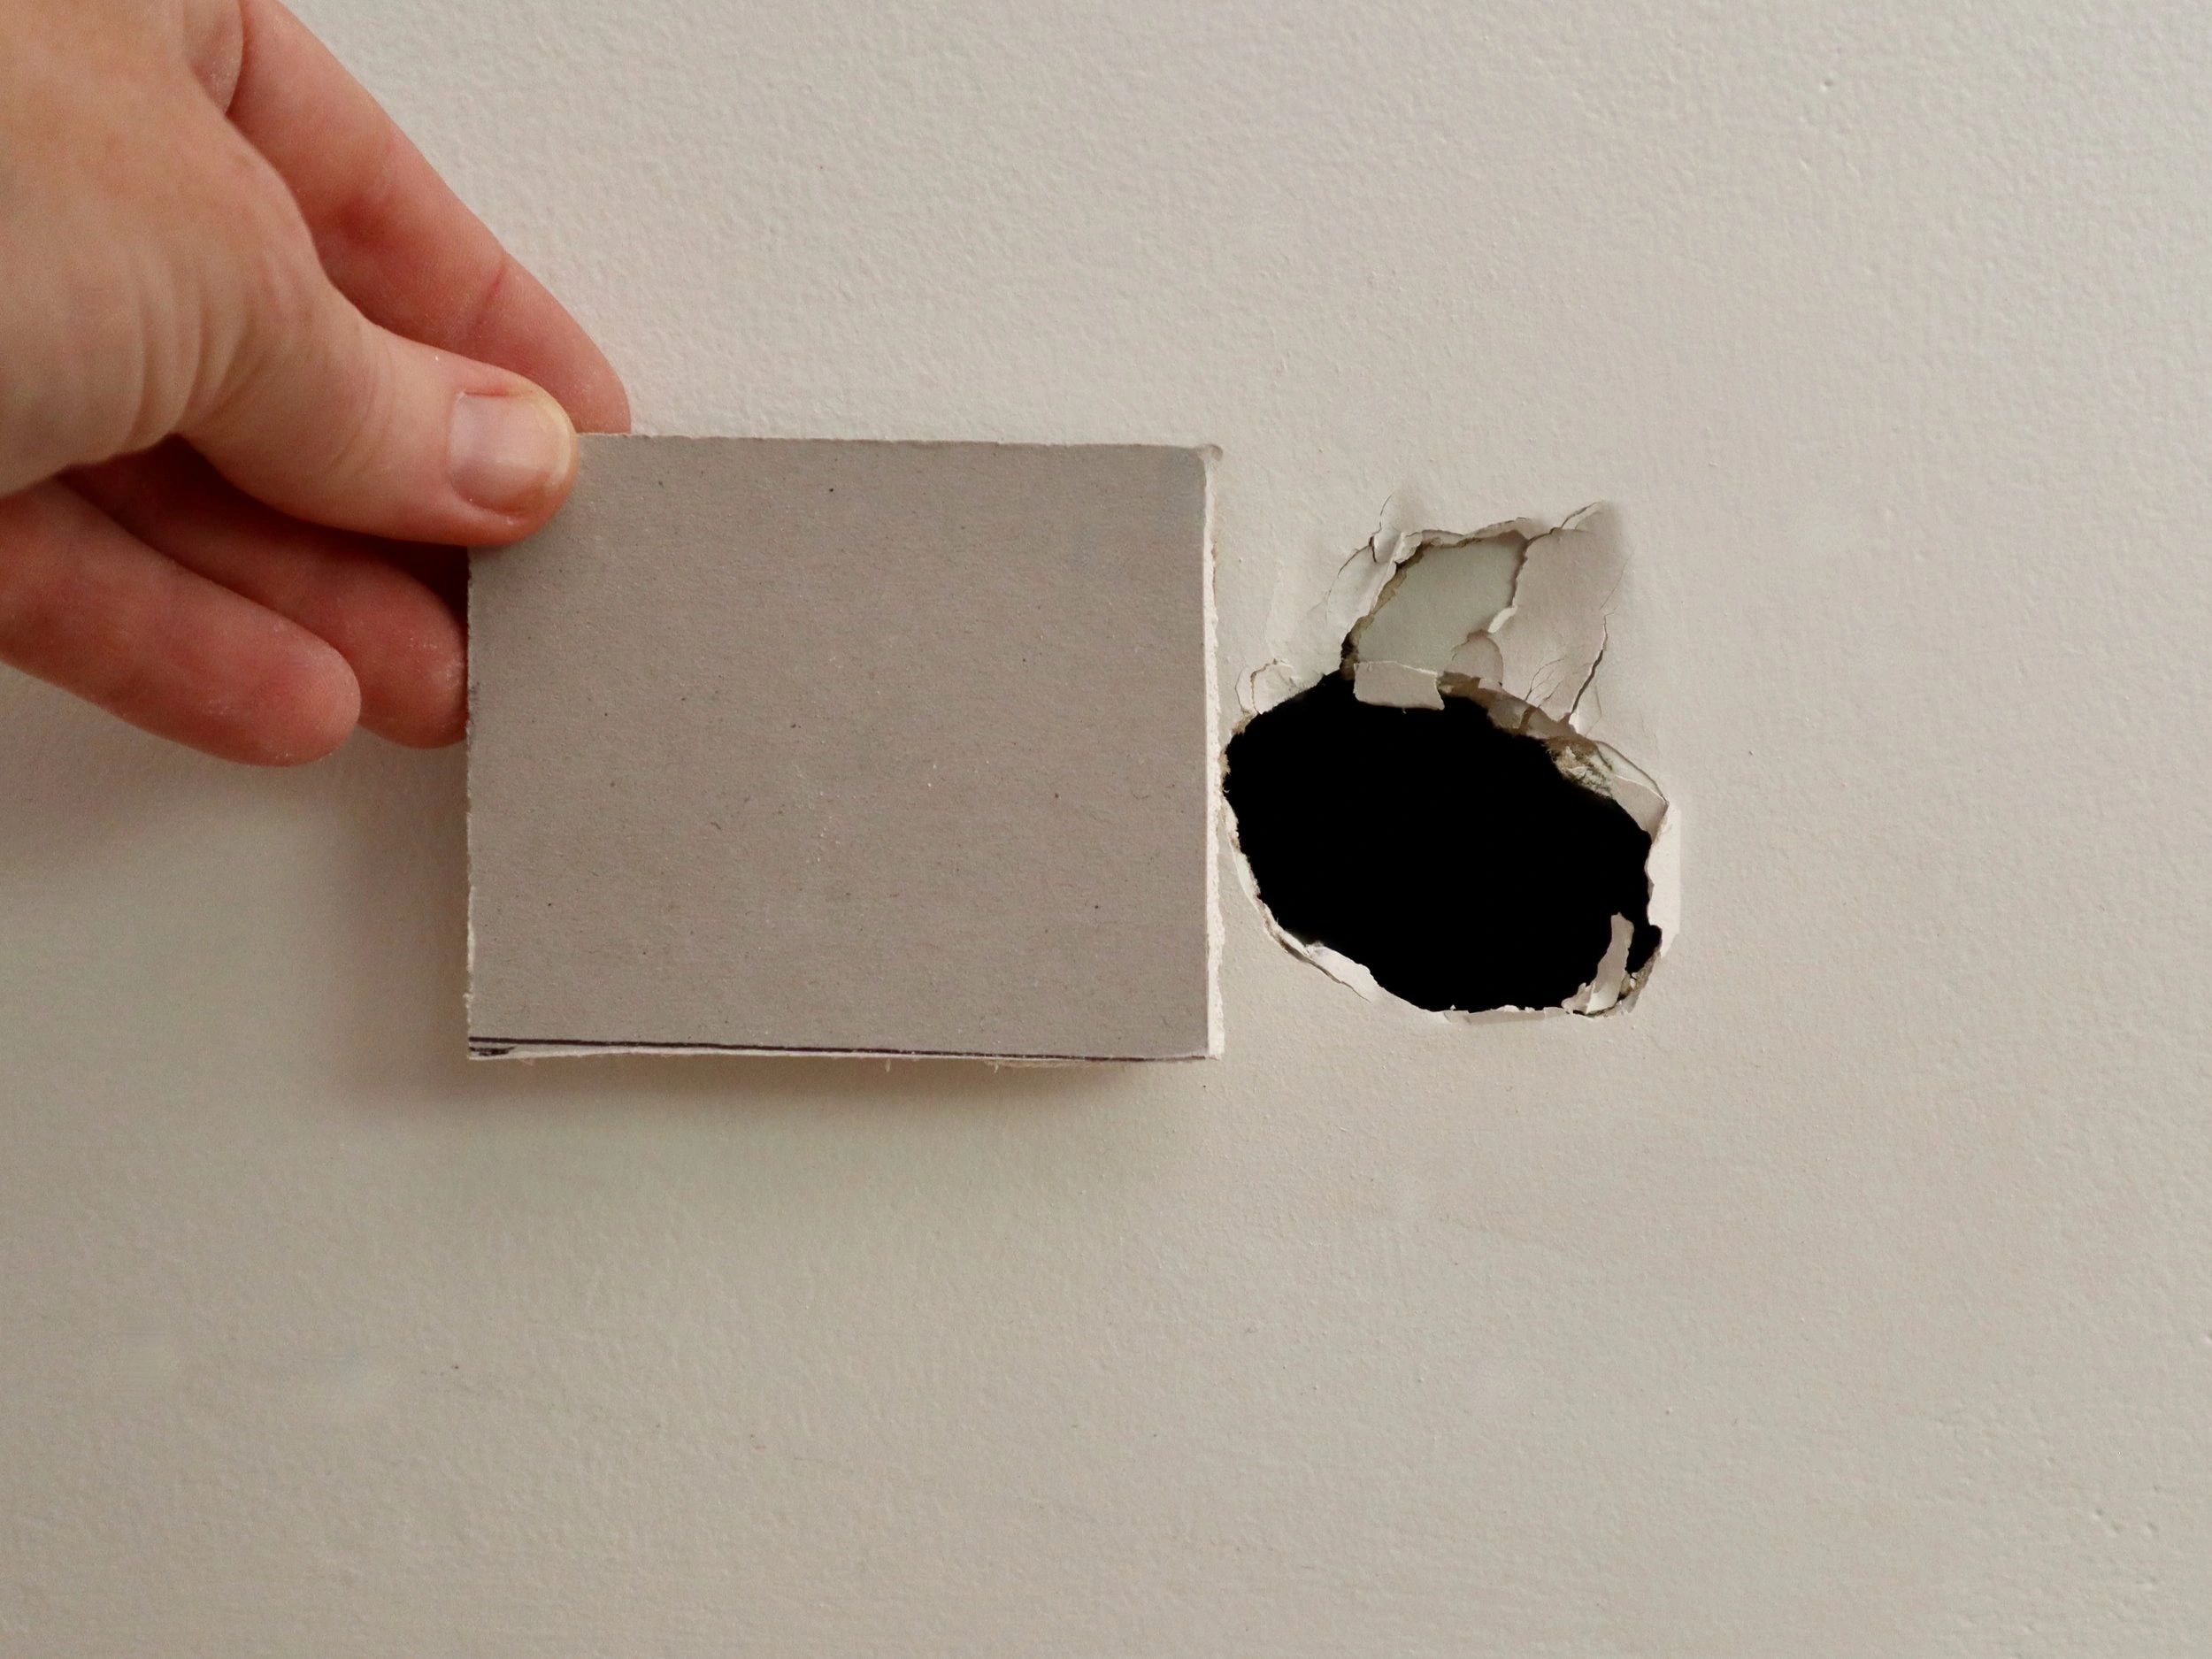
Plaster walls are a hallmark of traditional architecture, offering a classic and elegant finish to homes and buildings. However, over time, these walls can suffer from cracks, dents, and other damage. Repairing plaster walls can be a daunting task for homeowners, but with the right approach and materials, it is possible to restore them to their former glory. This article outlines essential steps for patching plaster walls, providing a comprehensive guide for anyone looking to tackle this task efficiently.
Understanding the Damage
Before beginning any repair work, it is crucial to assess the extent of the damage to the plaster walls. Identifying the type and severity of the damage will help in selecting the appropriate materials and methods for repair.
- Types of Damage: Cracks, holes, and surface imperfections are common issues in plaster walls.
- Severity Assessment: Minor cracks can often be fixed with simple patching, while larger holes may require more extensive repair strategies.
Gathering Necessary Tools and Materials
Having the right tools and materials is essential for a successful repair job. Before starting, ensure that the following items are on hand:
- Plaster patching compound
- Putty knife or plastering trowel
- Sandpaper (medium and fine grit)
- Primer and paint (to match the existing wall color)
- Protective gear (gloves and safety goggles)
Preparing the Work Area
Preparation of the work area is a crucial step in ensuring the longevity and quality of the repair. Protect the surrounding area by covering floors and furniture with drop cloths. Clean the wall surface to remove any dust or debris, which can hinder the adhesion of the plaster compound.
Executing the Repair
Once the work area is prepared, the actual patching process can begin. Follow these steps to achieve a smooth and durable finish:
- Cleaning the Area: Use a damp cloth to clean the damaged area and remove any loose plaster.
- Applying the Plaster Compound: Mix the plaster compound according to the manufacturer’s instructions. Apply it to the damaged area using a putty knife or trowel, filling in cracks or holes.
- Smoothing the Surface: Once the compound is applied, smooth it with the trowel, blending it with the surrounding wall surface.
- Drying Time: Allow the compound to dry completely. This can take several hours, depending on the product used.
- Sanding the Surface: After the compound is dry, sand the area using medium-grit sandpaper, followed by fine-grit sandpaper for a smooth finish.
For further guidance on these methods, discover expert strategies here.
Final Touches
After the surface is smooth and even, apply a primer to the repaired area. This will help the paint adhere better and ensure a uniform finish. Once the primer is dry, paint the wall with a color that matches the existing surface. This step completes the repair, leaving the wall looking as good as new.
For more detailed information about maintaining plaster walls, explore advanced guides and tips.
Preventive Measures
To avoid future damage, it is advisable to take preventive measures. Regular inspection and maintenance can help in identifying issues before they become severe. Additionally, controlling humidity levels and protecting walls from physical impacts can prevent common plaster problems.
Learn about our tailored solutions for maintaining the integrity of plaster walls by visiting this approach.
By following these steps, homeowners can effectively patch and repair plaster walls, preserving their home’s aesthetic appeal and structural integrity. While some repairs can be handled by DIY enthusiasts, more extensive damage may require consultation with professionals. Find out more about this approach to ensure the best outcomes for your plaster walls.